Every 3D-printed fetal heart model we sell starts as a set of files published by imaging researchers in London and ends as a heart you can take apart in your hands. In between are countless hours of software development, prototyping, test prints and refinement: we work with doctors on how the model works and on its anatomical detail. This is how it's made.
The fetal MRI atlas
The anatomy comes from the SVRTK fetal MRI atlas, published by a team at King's College London (Uus and colleagues, Journal of Cardiovascular Magnetic Resonance, 2022).
The normal heart atlas is not a scan of one fetus. It combines the MRI of 28 healthy fetuses at 29 to 34 weeks. Each scan was reconstructed in 3D with motion correction, all 28 were brought to a common size and averaged into one heart, and a clinician labelled that heart by hand, chamber by chamber and vessel by vessel, at 0.6 mm resolution. Because it is an average of many healthy hearts, the anatomy is typical rather than patient-specific, which is what a teaching model needs.
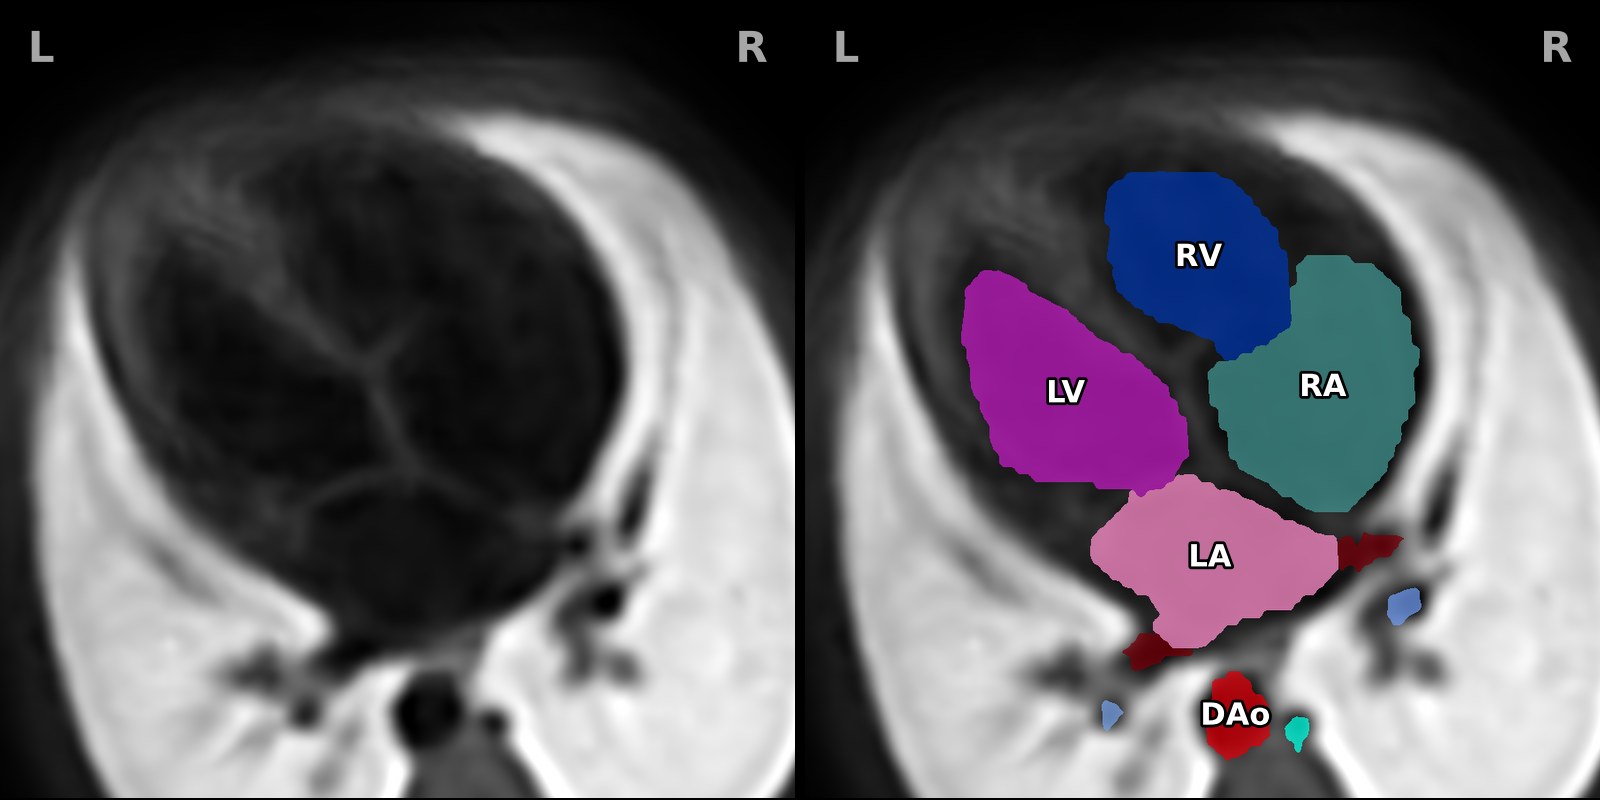
Here is the four-chamber view through the atlas, with the MRI on the left and the same slice with its labels coloured in on the right. The labels fill the chambers and vessels but not the walls between them, which matters for the next step.
The team released the atlases under CC0, a public domain dedication, so anyone may build on them. We credit them regardless, because none of this would exist without their work. The full reference is at the end of this post.
From labels to a heart with walls
The atlas labels the spaces blood fills, not the muscle around them. A surface taken straight off the labels is a cast of the cavities rather than a heart, and a cut through it falls apart into loose islands.
So our software builds the walls: a band of tissue around the blood pool, measured as a distance from its surface and meshed with marching cubes. The chambers get the thickest wall, because they carry the magnets, and the vessels thinner ones, so the great vessels read as separate tubes rather than one lump.
Then we add what the atlas does not contain. The four valves sit where two labels meet, so their size and position are measured off the atlas. The labels show the atrial septum closed, but the greyscale MRI shows a small patch at blood brightness where the foramen ovale should be, so we open it there and lay its flap over it. The moderator band is not in the atlas at all: we placed it by measurement and refined it with the doctors we work with. Everything is set at one moment of the cardiac cycle, with the atrioventricular valves open, the semilunar valves nearly shut and the flap lifted, which is diastole. Last, the vessel ends are cut open so you can look down each one.
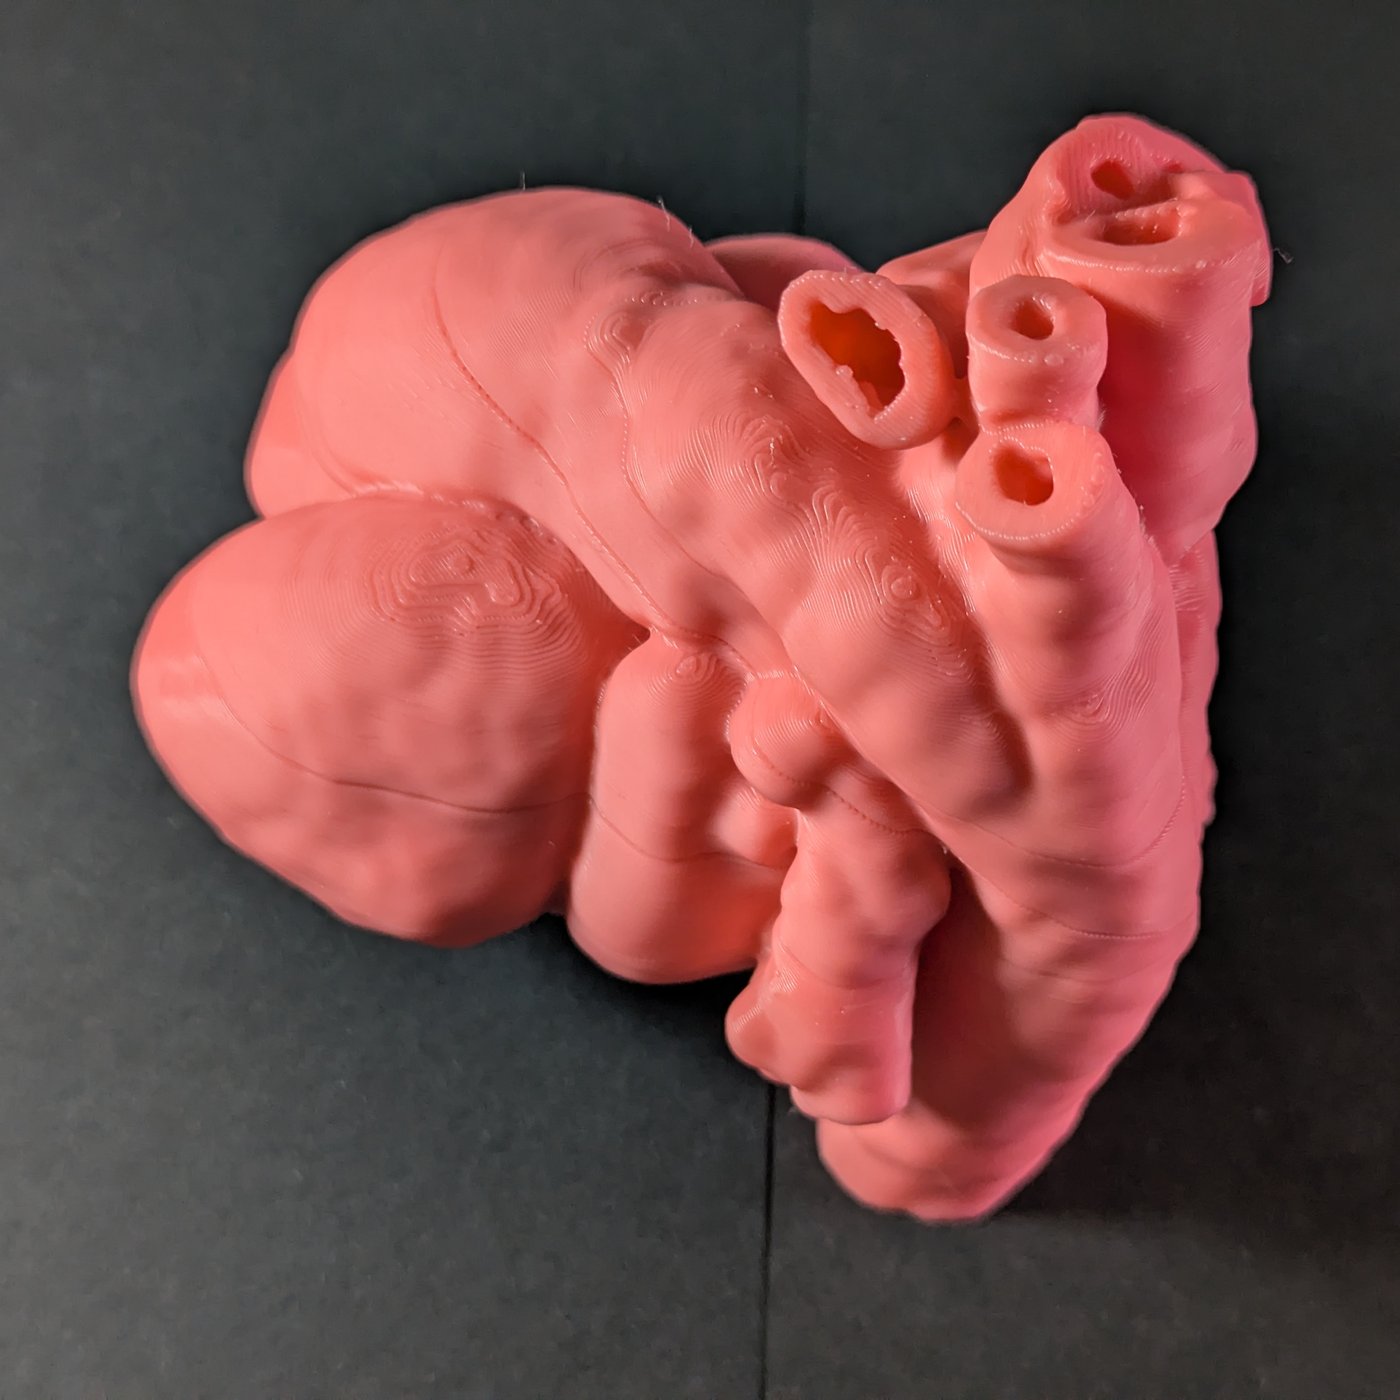
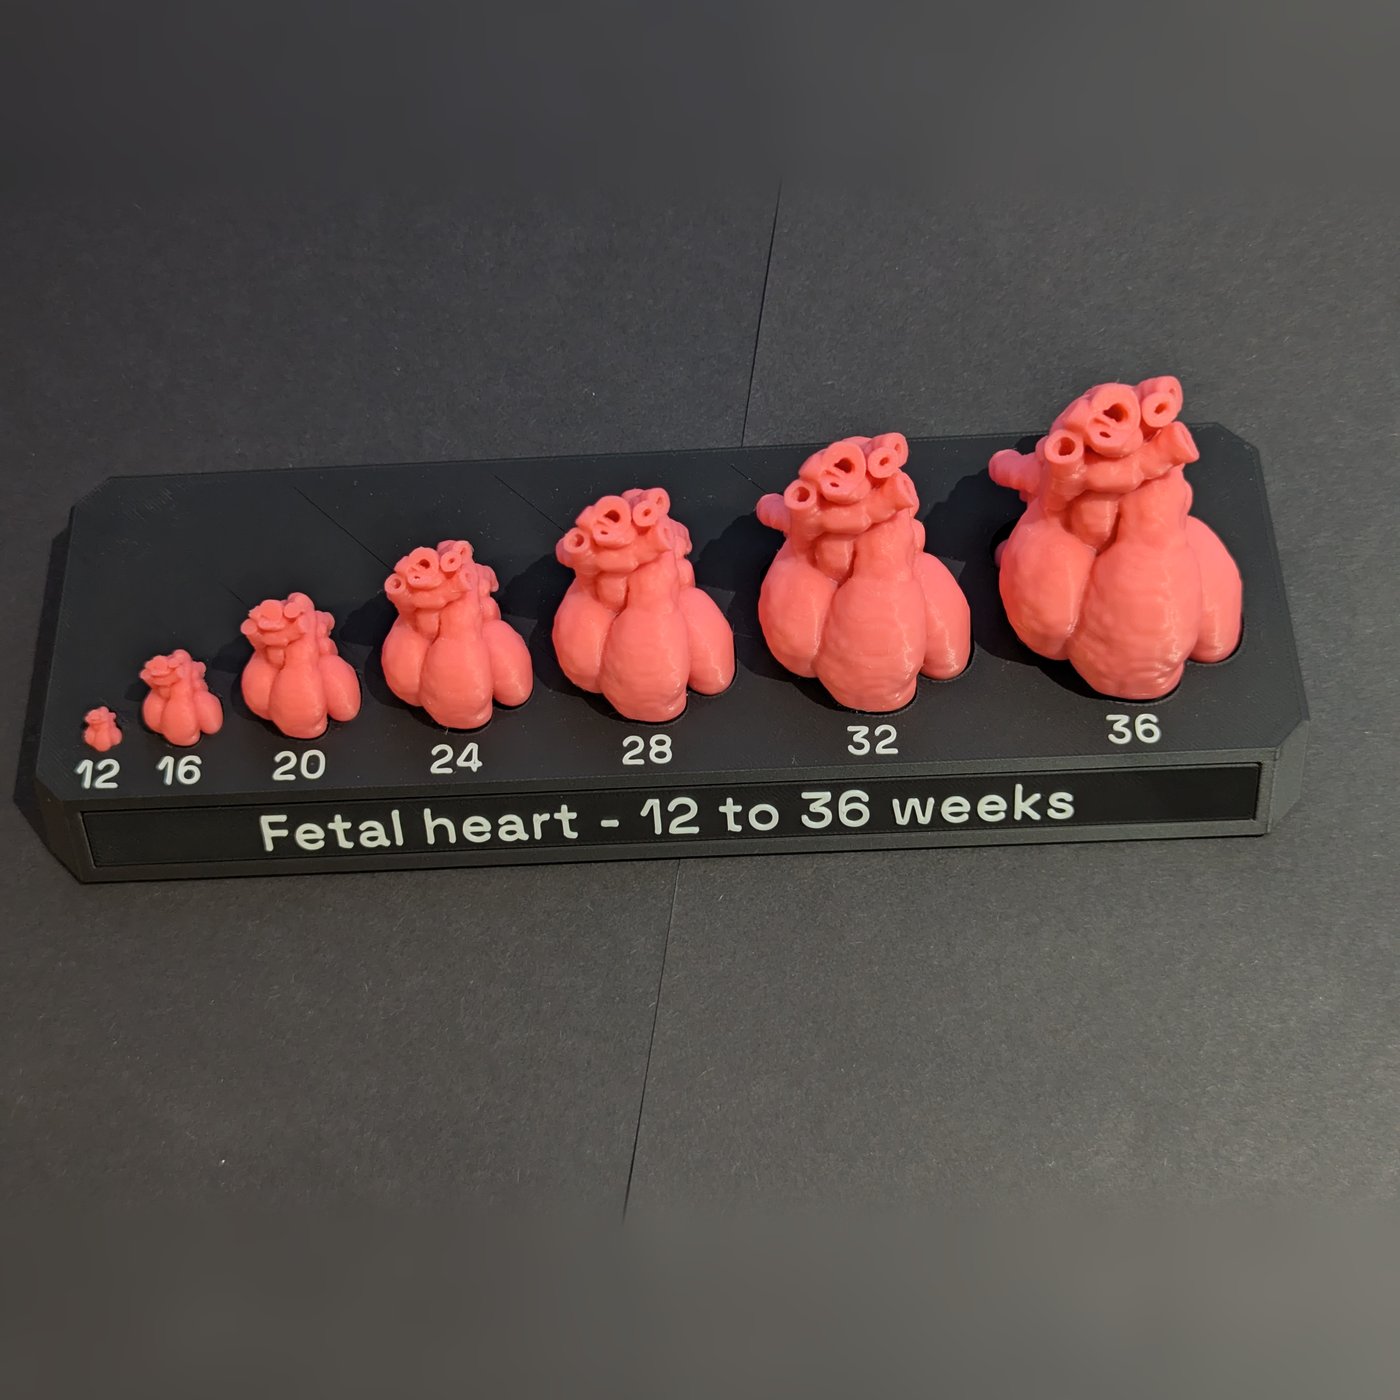
The same mesh, scaled, gives the fetal heart sizes set, one heart at seven gestations from 12 to 36 weeks. At the small end a hollow wall would be thinner than a single line of plastic from the nozzle, so the 12, 16 and 20-week hearts are printed solid. There is more on how the heart grows in fetal heart size by week.
Choosing the cut planes
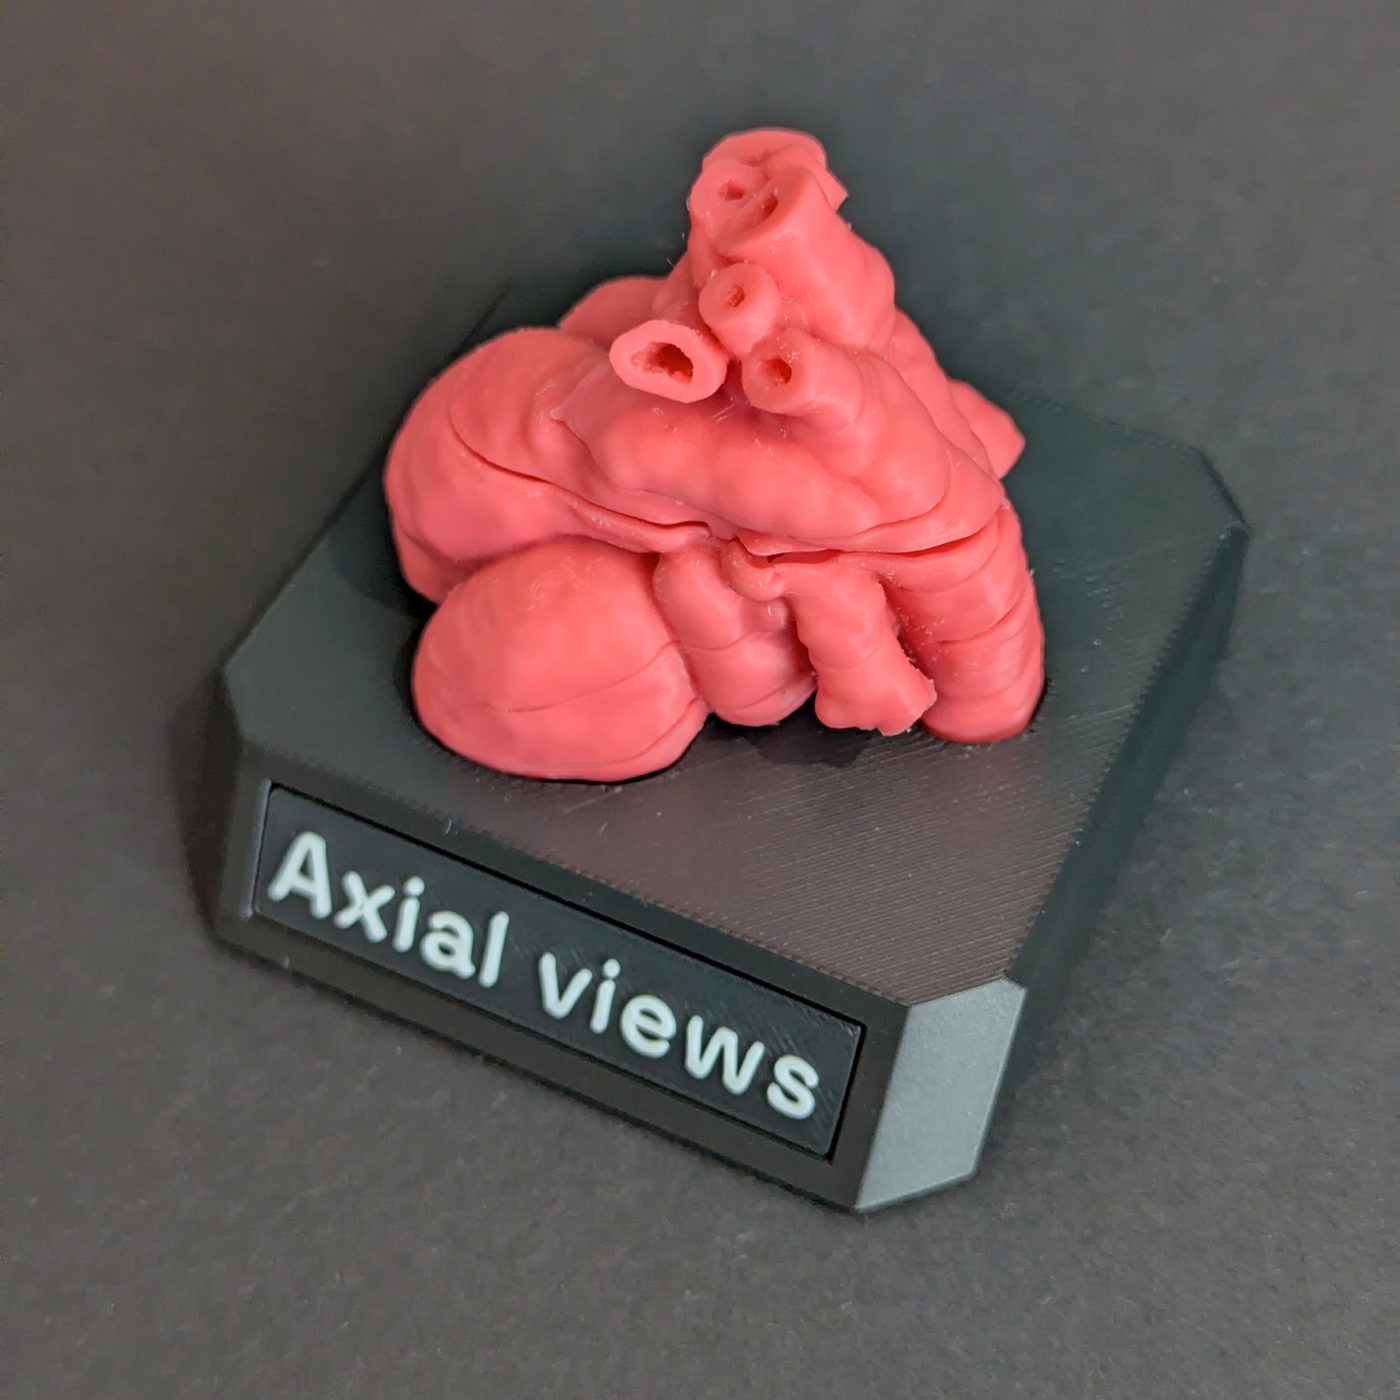
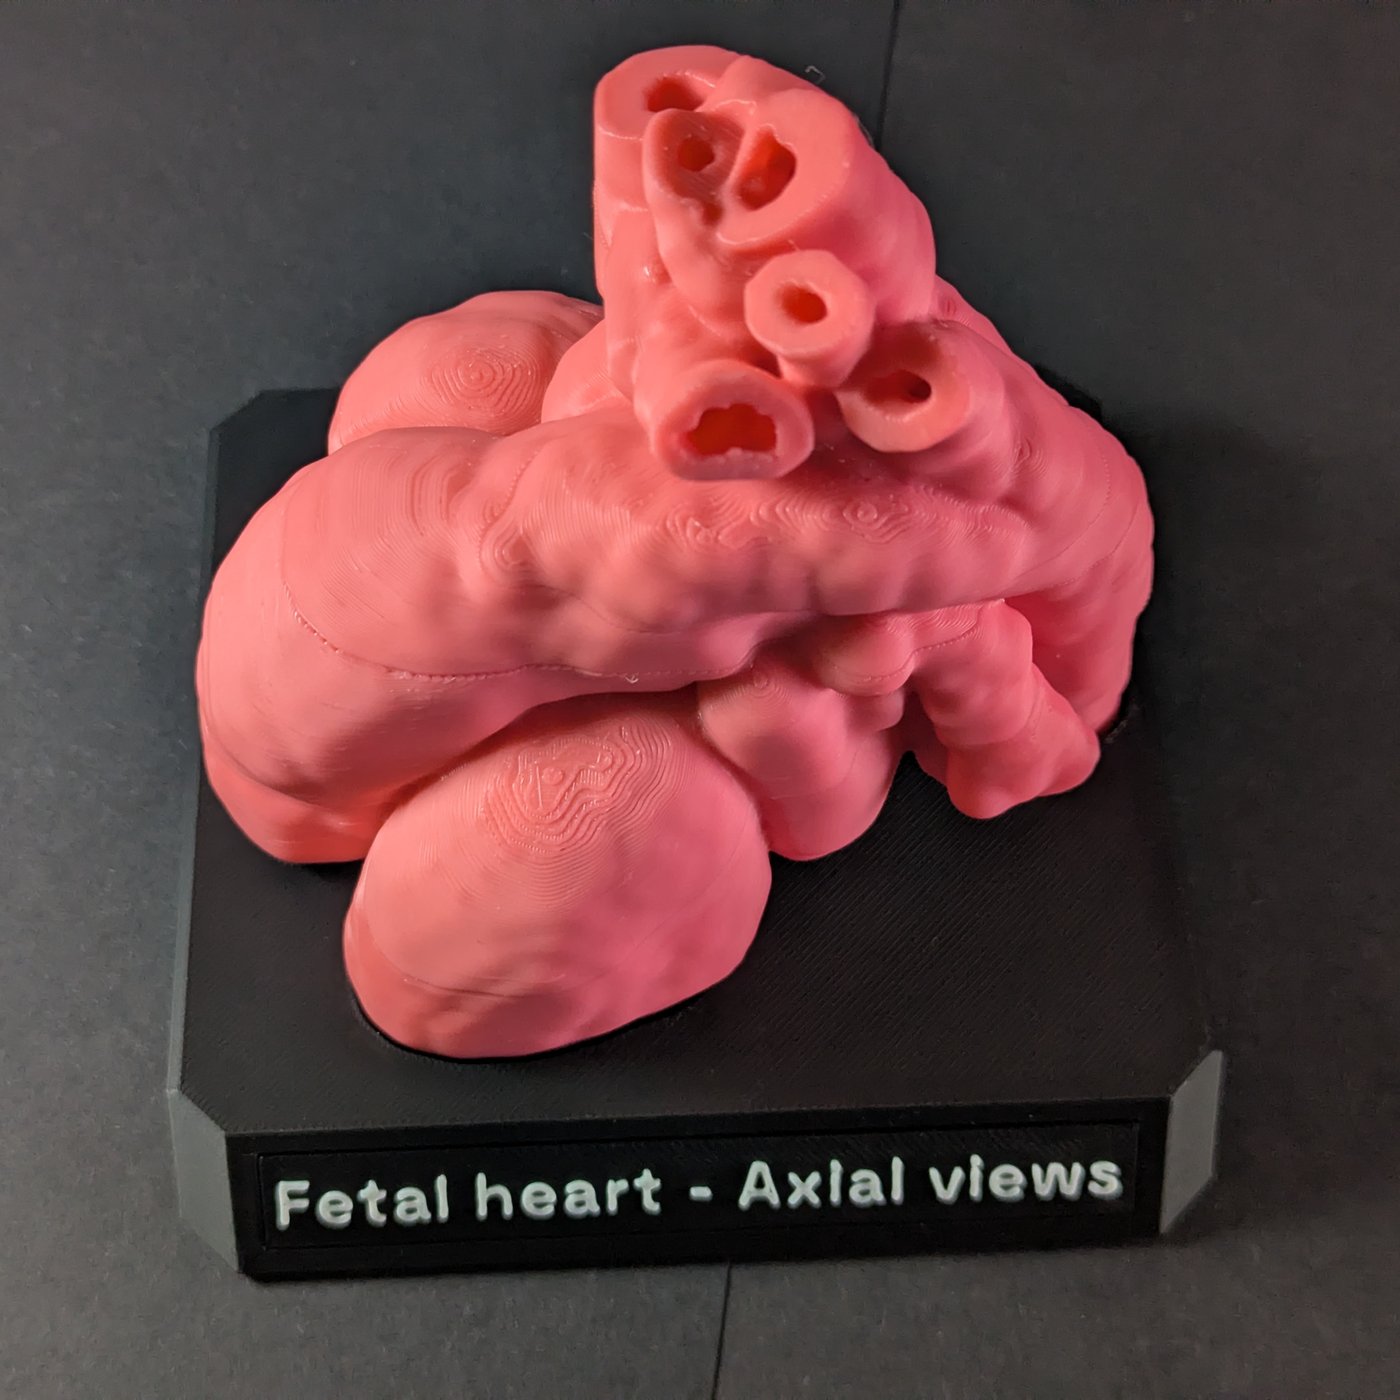
The axial views models, life-size and 2×, are cut along the sweep in the ISUOG fetal cardiac screening guideline, from the four-chamber view up to the three-vessel and trachea view. The sweep's first view, across the upper abdomen, needs the stomach, liver and spine, which a heart-only atlas does not have, so four planes cut the heart into five pieces. What each of those views shows is in fetal heart screening views.
For each plane we want to cut the heart on, we start by attempting to locate it automatically in code using the labelled geometry. This puts the planes in roughly the right position. We have to balance two things: getting the plane as close to optimal for someone studying this, but also working within the bounds of a physical object that needs to actually exist in the real world as a working model.
To aid us in this we produced a 3D scene in the Unity game engine that our doctors could interact with. It shows any plane through the atlas as an ultrasound-style image over the real MRI, so a clinician can steer to each view much as on a scanner and capture it. Each capture is scored against the structures the guideline lists for that view. We can capture several examples for each so that we can choose the best ones for magnet location and assembly.
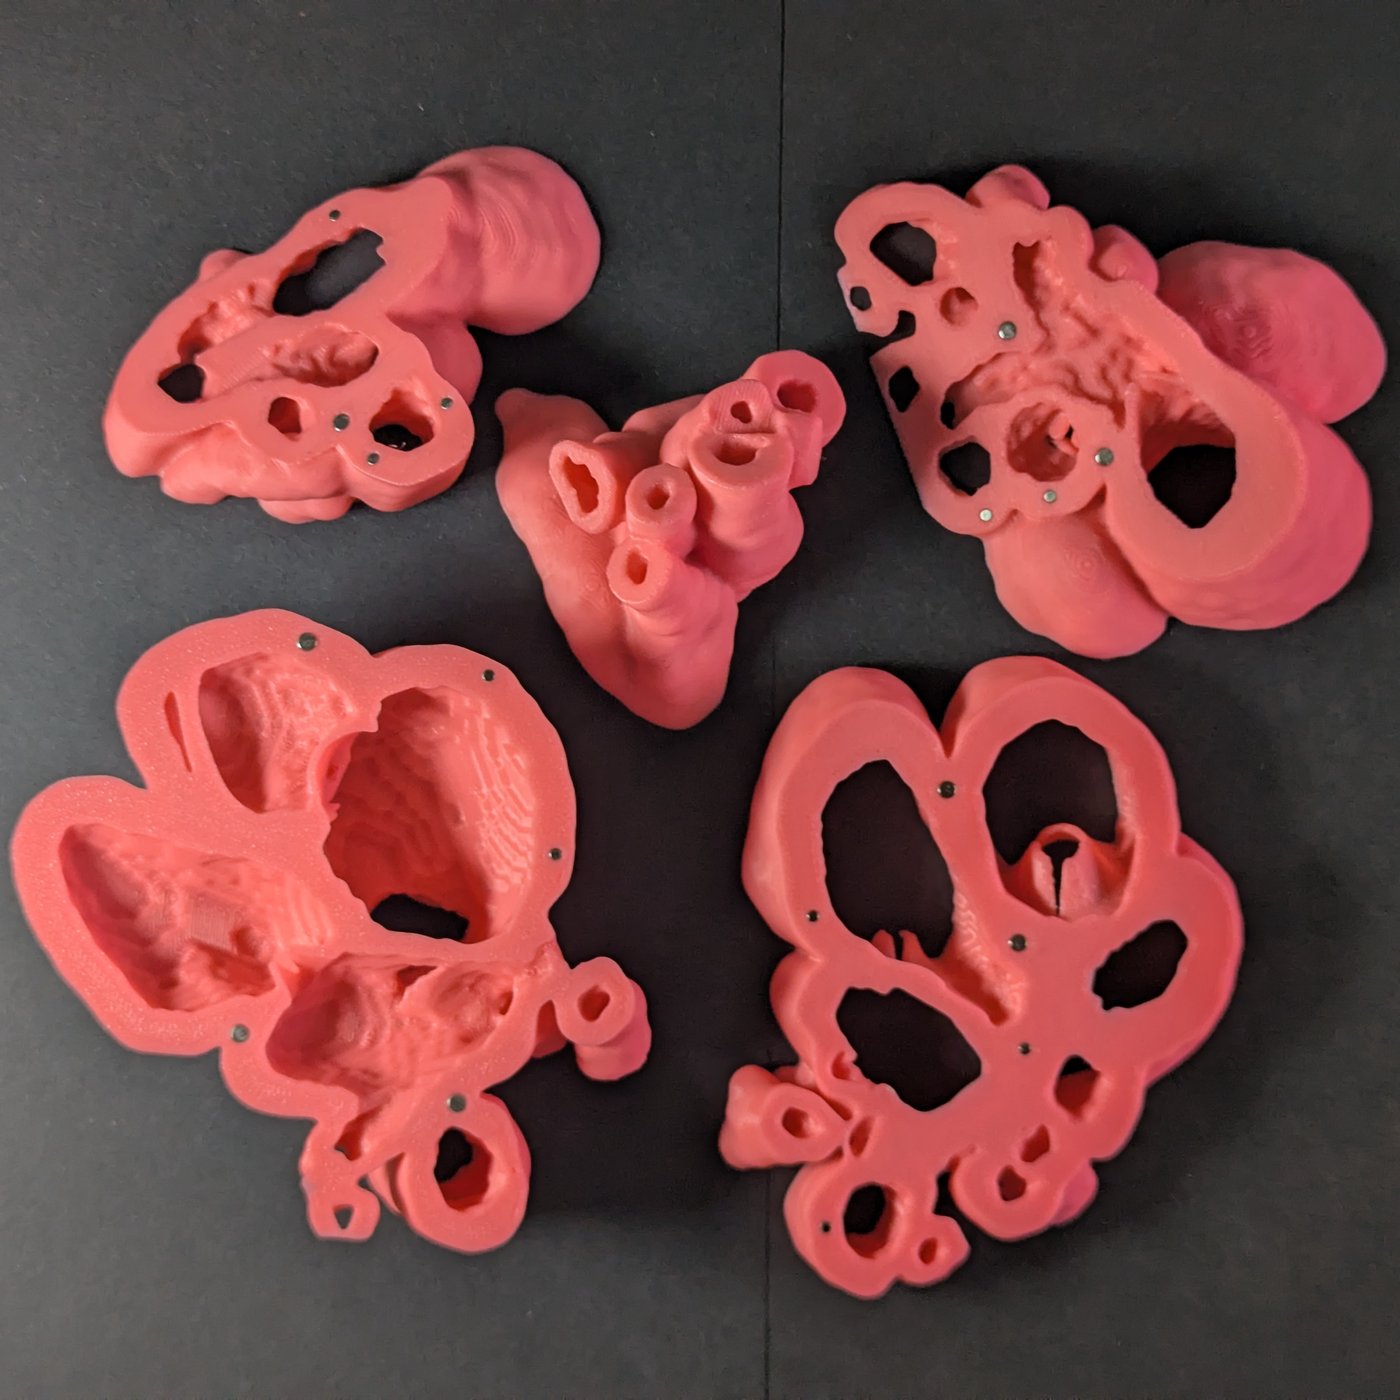
Hollow sections that come apart
The cuts give a stack of five sections in sweep order. You split it at one plane to see that view, close it, and split it at the next, so every joint has to open straight along its own plane and hold firm when closed.
An early version used printed plastic pins, and they sheared off in use: a printed pin is weakest between its layers, exactly where that load falls. So the pins became magnets, glued into pockets in both faces. Each pocket is placed by measuring the printed wall around it, so it cannot break out through the side or cut into a valve leaflet. On the 2× each site takes the larger of two magnet sizes where the wall allows. The life-size walls are thinner, so on the 1× each joint has a raised lip to locate it and a small magnet to hold it.
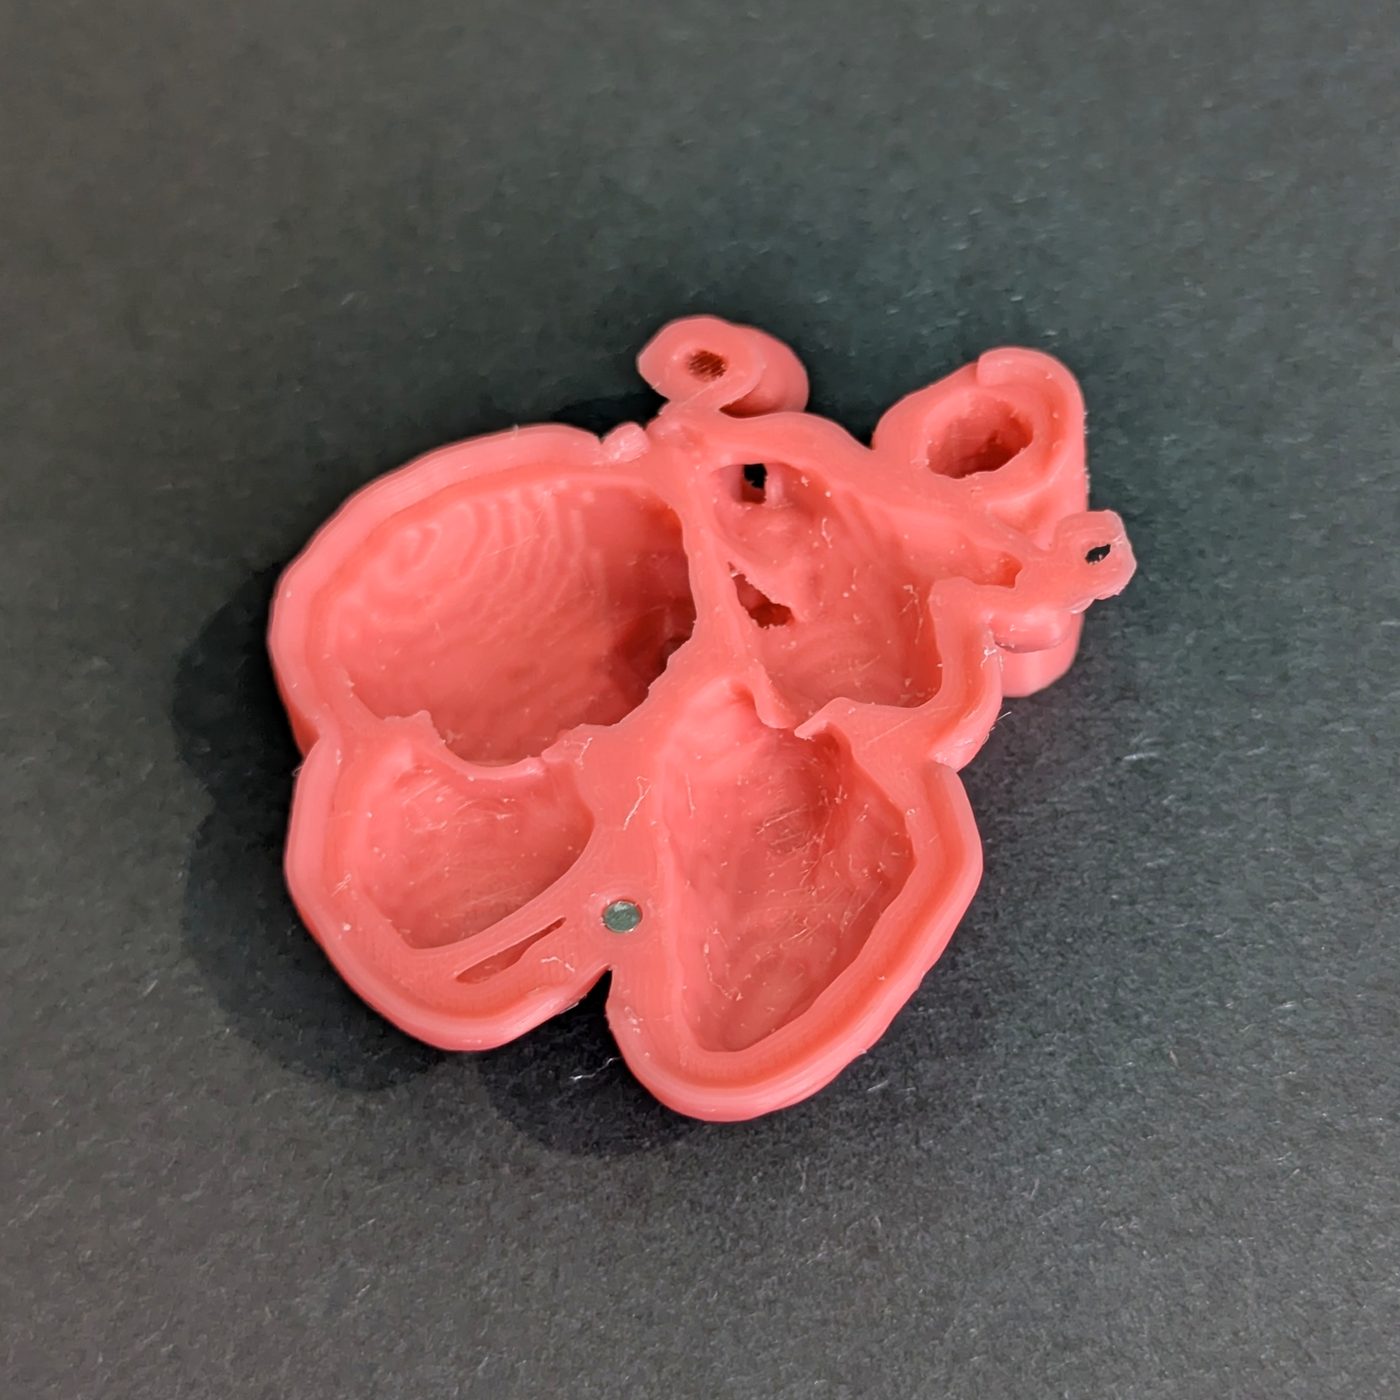
3D printing the heart
We print the models in PLA on a series of Bambu Lab printers. The life-size model uses 0.08 mm layers, because at 0.2 mm a heart that small looked rough. We have tuned profiles to balance the physical outcome and printing time. We could print everything at the finest detail, but this would needlessly inflate the price of the model.
As a heart is a living organ, it has all sorts of shapes in it. Often 3D prints are optimised so that they can print without supports for overhangs (or at least with the fewest). No matter how you orient a heart, supports will always be needed. We use a dedicated support material in the printing process which does not bond to PLA, so it comes away cleanly. This enables us to get a high-quality finish on the models without having to sand or paint the models.
When printing stock, we split the model and print many copies of the same piece in one go. This minimises print waste, and increases the overall number of hearts we can produce. But it does mean the lead time for any model resupply is about a week's worth of printing.
Finishing
Off the plate, the support is cleared from each piece, including from inside the chambers. Occasionally there are some places where not all can be removed, but they are generally interior and not noticeable on the model. Each print batch we improve our process for the next.
Then the magnets are attached. The model is printed with tolerances such that the magnets are a tight fit where possible. In order to have a robust product we use glue to ensure they will not dislodge easily.
Boxing
The stand is printed too: a one-piece base in matte charcoal PLA that fills the model's own white cardboard box, a 76 mm cube for the life-size model and a 120 mm one for the 2×. The heart sits in a pocket cut to its own footprint, which holds it still in the box and is what it stands on afterwards. The angled front edge carries a glued-in nameplate in raised white lettering.
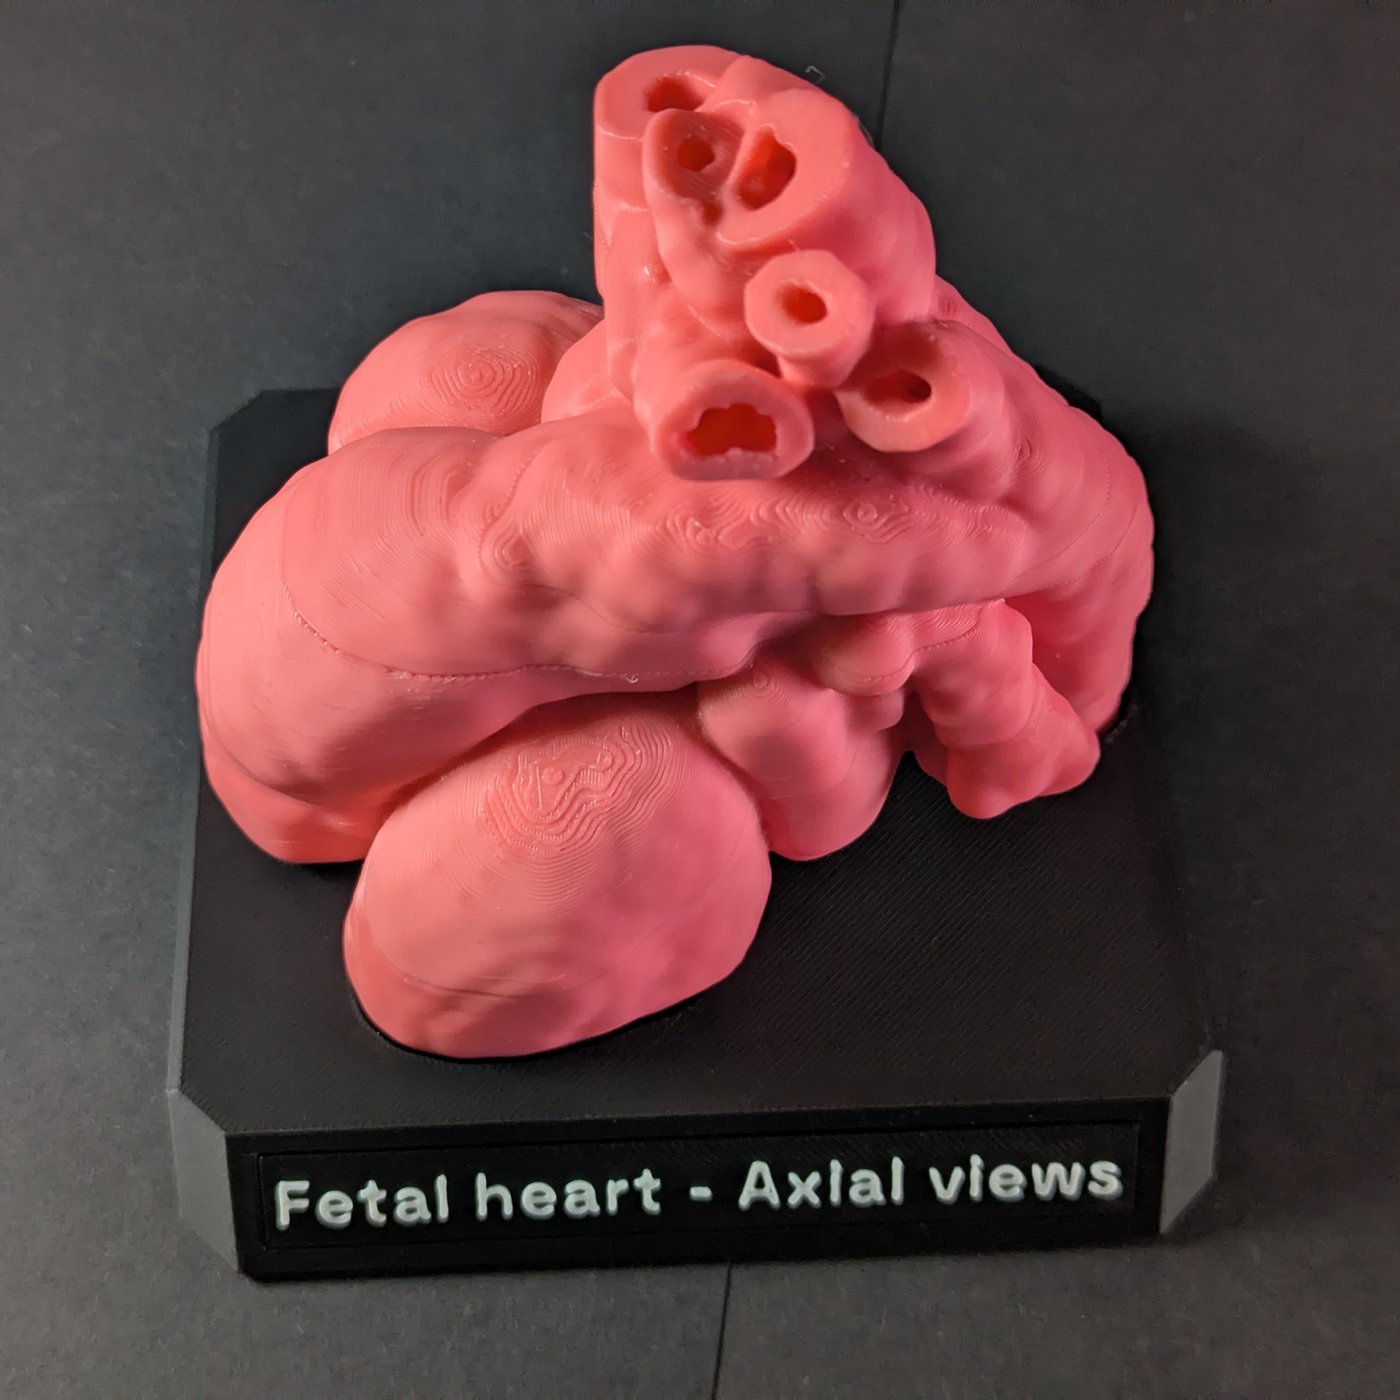
The model comes with a velvet bag for alternative storage or for when you want to put it in your bag, and a printed set of A6 cards, showing details about each model. The cards go in separately, and everything is packed into a shipping box for the post.
Like everything we make, it is a teaching aid, not a medical device. Why we started making them is on our about page.
Credit
The anatomy in every model comes from the SVRTK fetal MRI atlas repository, created at King's College London from imaging at St Thomas' Hospital and Evelina London Children's Hospital, and released under CC0 1.0. The heart atlases are described in Uus A, van Poppel MPM, Steinweg JK, et al., "3D black blood cardiovascular magnetic resonance atlases of congenital aortic arch anomalies and the normal fetal heart: application to automated multi-label segmentation", Journal of Cardiovascular Magnetic Resonance 24, 71 (2022), doi.org/10.1186/s12968-022-00902-z.